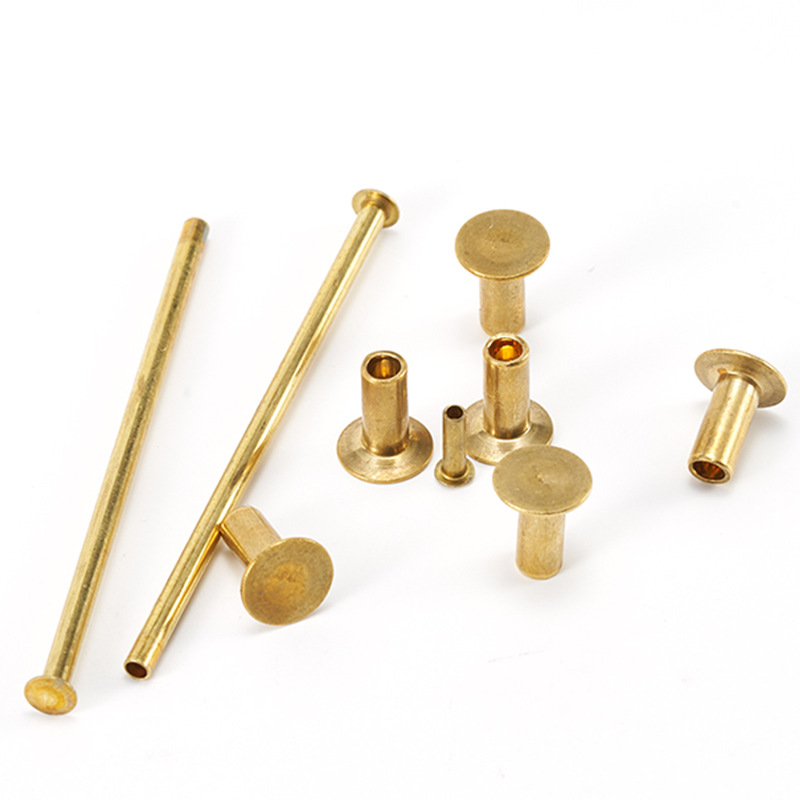
In addition to general quality inspection and control, there are also some special quality inspections and controls for the heat treatment of fasteners. Mastering the following four key points can achieve high-quality fastener heat treatment.
1. Decarbonization and carburizing
In the mass heat treatment production process, whether it is the metallographic method or the microhardness method, it can only be sampled at regular intervals. Because of its long inspection time and high cost.
In order to timely assess the carbon control status of the furnace, spark detection and Rockwell hardness testing can be used to make preliminary judgments on decarburization and carburizing. Spark detection is the process of lightly grinding quenched parts on a grinding machine from the surface to the inside to determine if the carbon content in the surface and core is consistent. Of course, this requires the operator to have proficient skills and spark identification ability.
Rockwell hardness testing is performed on one side of a hexagonal bolt. First, lightly polish a hexagonal plane of the quenched part with sandpaper and measure the first Rockwell hardness. Then grind the surface off by about 0.5mm on a grinding machine and measure the Rockwell hardness again. If the hardness values of the two times are basically the same, it indicates that neither decarburization nor carburization has occurred. When the previous hardness is lower than the subsequent hardness, it indicates surface decarburization. When the previous hardness is higher than the subsequent one, it indicates surface carburization. In general, when the difference in hardness between two times is within 5HRC, the decarburization or carburization of the parts is basically within the qualified range when checked by metallographic or microhardness methods.
2. Hardness and strength
In the testing of threaded fasteners, it is not possible to simply convert the hardness value into strength value by referring to relevant manuals. There is an influence of hardenability factor in between. Because the national standards GB3098.1 and GB3098.3 stipulate that the arbitration hardness is measured at 1/2 radius of the cross-section of the part. The tensile test specimen is also taken from 1/2 radius. Because it cannot be ruled out that there may be low hardness and low strength parts in the central part of the component.
In general, the hardenability of the material is good, and the hardness can be evenly distributed on the cross-section of the screw. As long as the hardness is qualified, the strength and guaranteed stress can also meet the requirements. However, when the hardenability of the material is poor, although the hardness is qualified according to the specified inspection, the strength and guaranteed stress often fail to meet the requirements. Especially when the surface hardness tends towards the lower limit.
In order to control the strength and ensure stress within the qualified range, the lower limit of hardness is often increased. The hardness control range for grade 8.8 is 26~31HRC for specifications below M16, and 28~34HRC for specifications above M16; It is advisable to control the 10.9 level within 36-39HRC. Grade 10.9 or above is another matter.
3. Re tempering test
Bolts, screws, and studs with grades 8.8~12.9 should undergo a re tempering test with a minimum tempering temperature of 10 ℃ lower than the actual production temperature and a 30 minute insulation time. The difference between the average hardness values of three points before and after the test on the same sample shall not exceed 20HV.
The re tempering test can check for incorrect operations where insufficient quenching hardness is achieved by tempering at too low a temperature to barely reach the specified hardness range, ensuring the comprehensive mechanical properties of the parts. Especially for threaded fasteners made of low-carbon martensitic steel, low-temperature tempering is used. Although other mechanical properties can meet the requirements, the residual elongation fluctuates greatly when measuring the guaranteed stress, far exceeding 12.5um. And sudden breakage may occur under certain usage conditions. Sudden breakage has occurred in some bolts used in automobiles and construction. When the lowest tempering temperature is used for tempering, the above phenomenon can be reduced. However, special caution should be taken when using low-carbon martensitic steel to manufacture grade 10.9 bolts.
4. Inspection of hydrogen embrittlement
The sensitivity to hydrogen embrittlement increases with the strength of the fastener. For external threaded fasteners of grade 10.9 and above, self tapping screws with surface hardening, and combination screws with hardened steel washers, they should undergo dehydrogenation treatment after electroplating.
Dehydrogenation treatment is generally carried out in an oven or tempering furnace, with insulation at 190-230 ℃ for more than 4 hours to allow hydrogen to diffuse out.
Threaded fasteners can be tightened by screwing them onto a specialized fixture until the screw is subjected to a sufficient tensile force to ensure stress, and held for 48 hours. After loosening, the threaded fastener will not break. This method is used as an inspection method for hydrogen embrittlement.
 English


 客服
客服